Installing an SSL certificate in IIS 10

Home » Documentation » Products » Installing an SSL certificate in IIS 10
Home » Documentation » Products » Installing an SSL certificate in IIS 10
Locate the file yourdomain_com.cer or yourdomain_com.p7b and follow the installation steps below (unzipping the archive may be required):
1) Start Internet Information Services (IIS) Manager by entering “inetmgr” into the search field near Start button or in the Run window, which can be launched by pressing the Win+R hotkey.
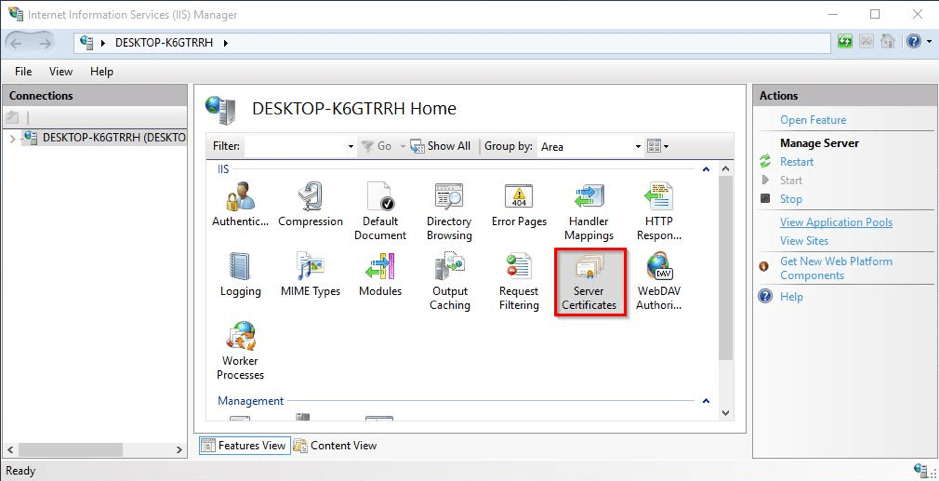
2) Double-click on the Server Certificates icon at the IIS Manager’s home page.
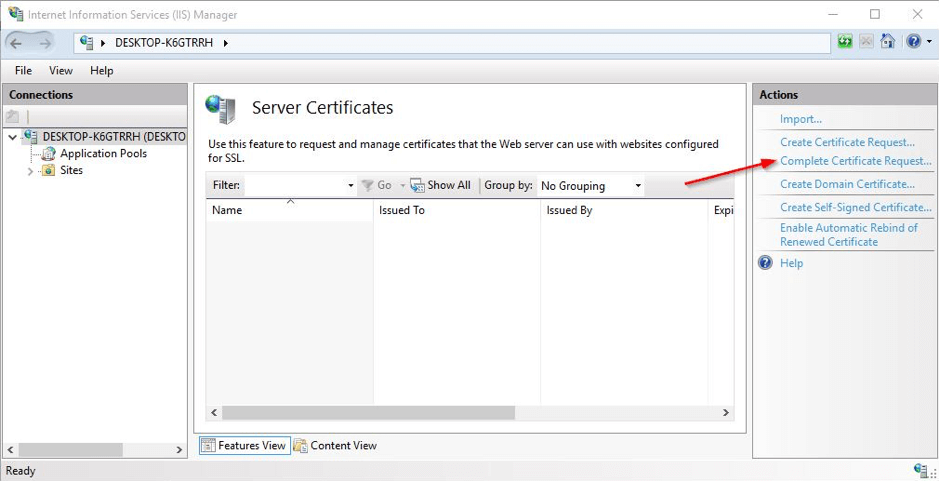
3) Hover the mouse over the Actions pane on the right side of the window and click Complete Certificate Request.
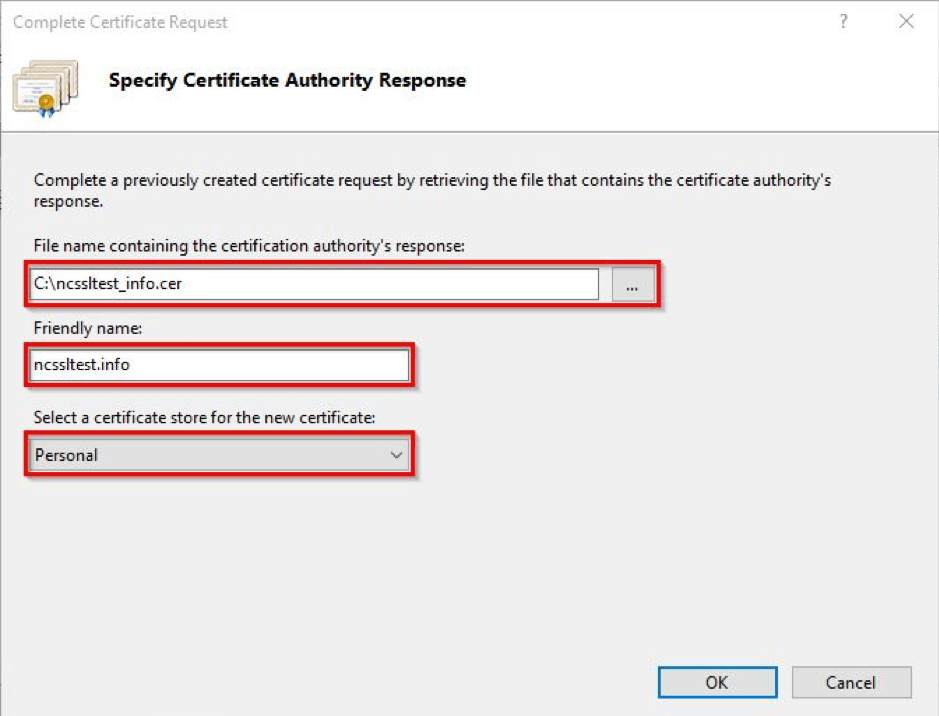
4) The next screen – Specify Certificate Authority Response – contains 3 fields:
– File name containing the certification authority’s response– browse the file system to find the certificate file.
– Friendly name– this field helps the server administrator to easily locate a particular certificate. For example, a domain name of the certificate can be specified in this field.
– Select a certificate store for the new certificate– the default value Personal should be kept.
5) When all fields are completed, click OK to import the certificate to the server storage.
6) If installation is successful, a new entry will appear on the Server Certificates page.
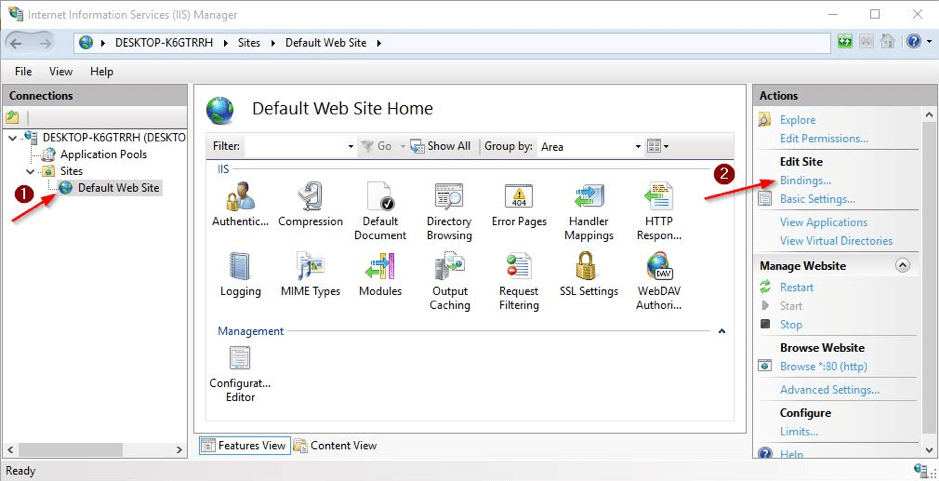
7) The installed certificate must now be assigned to a website by binding to a secure port. To do this, expand the Sites subsection in Connections panel on the left side of IIS Manager and select the corresponding site. Then hover the mouse back to Actions panel and select Bindings….
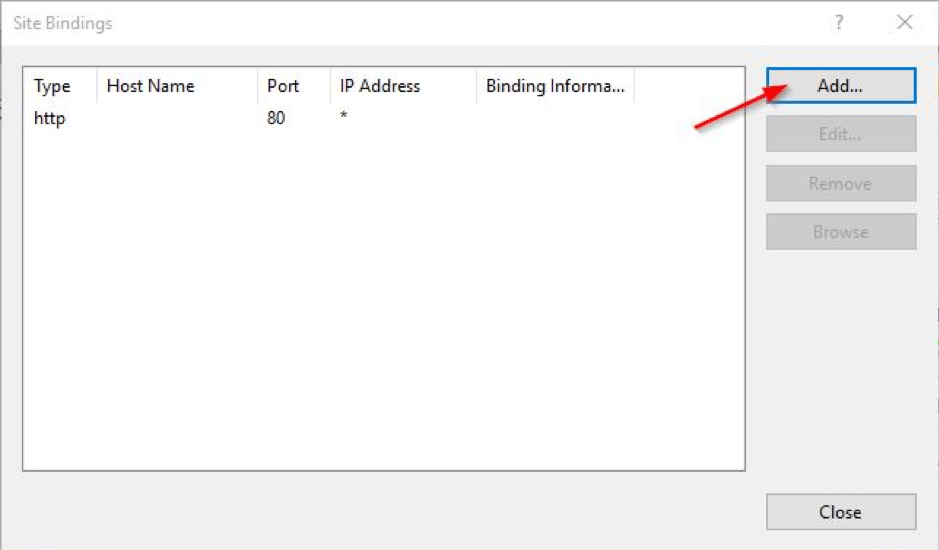
8) Click Add… on the right side of Site Bindings window.
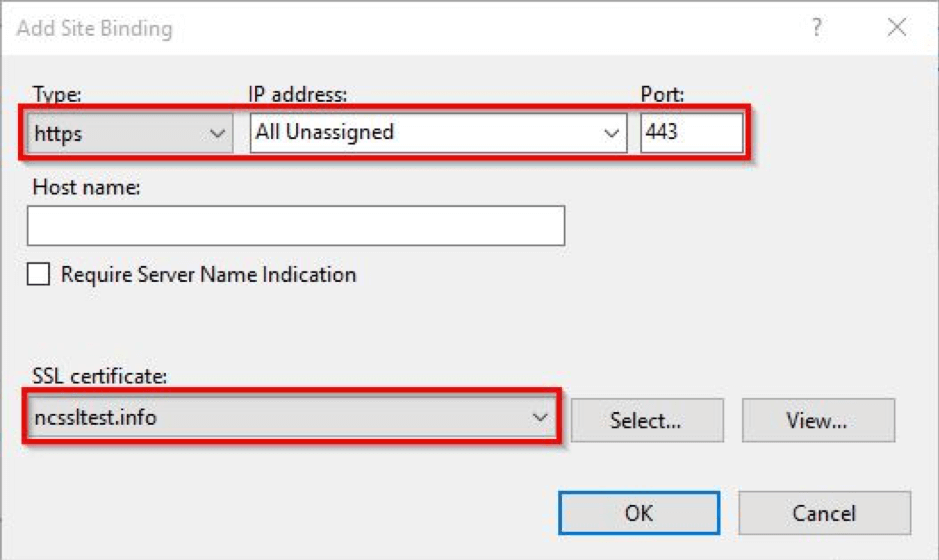
9) Several fields on the next pop-up window need to be modified:
– Type– select “https” from the drop-down menu;
– IP address– choose the specific IP address or “All Unassigned”;
– Port– specify the port number for a secure connection. The default port number is 443;
– SSL certificate– select the corresponding certificate, identified by the previously specified Friendly name.
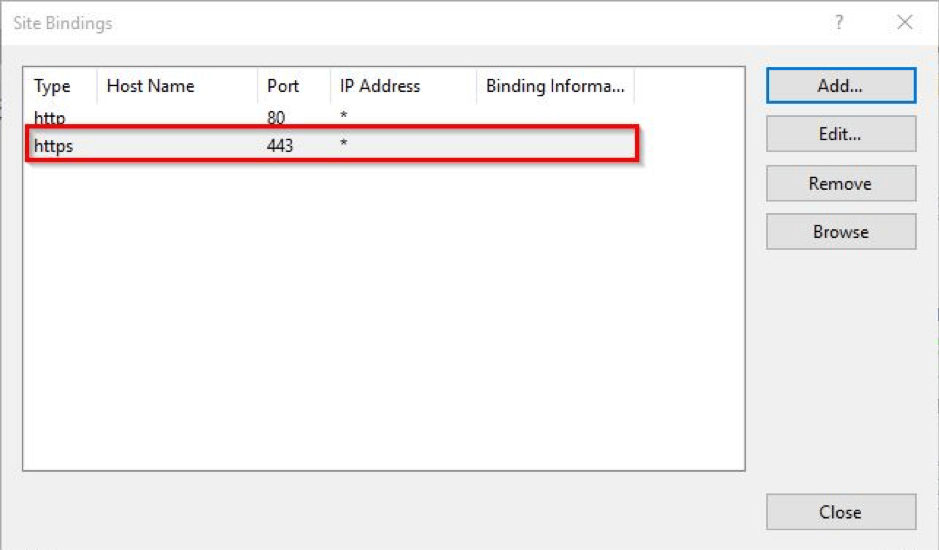
10) Click OK to bind the certificate with the site. The new entry should appear in Site Bindings window.
11) Now the website should be accessible via secure HTTPS connection.