
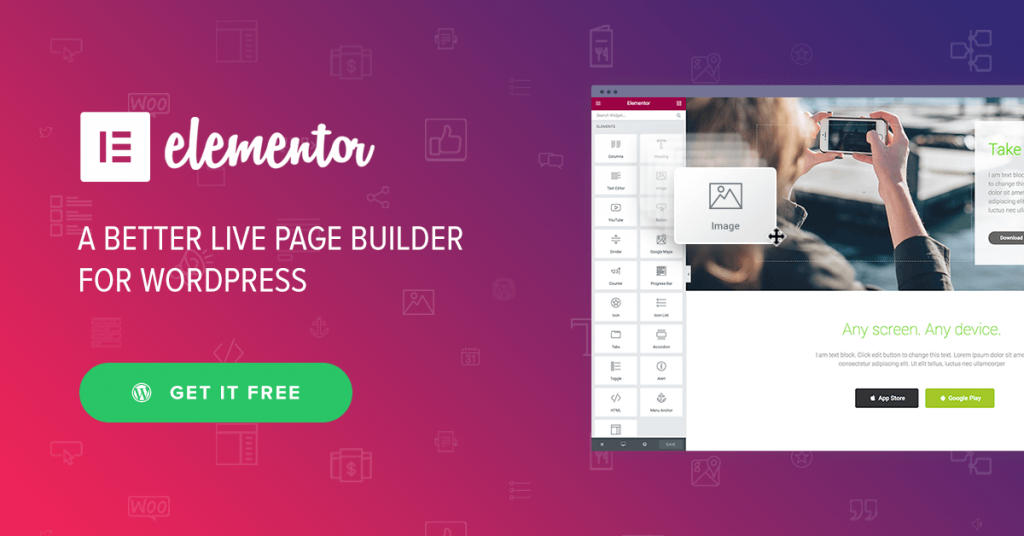
Go to website elementor.com and click ![]()
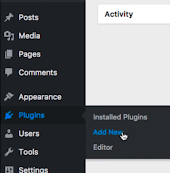
In the WordPress dashboard, Click ![]() >
> ![]() .
.
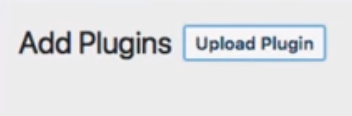
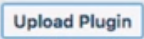
Click ![]() , and choose the file you’ve downloaded for Elementor.
, and choose the file you’ve downloaded for Elementor.

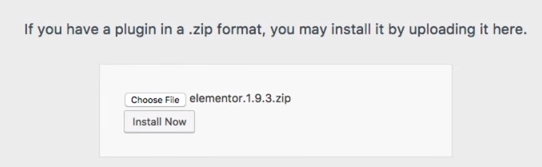
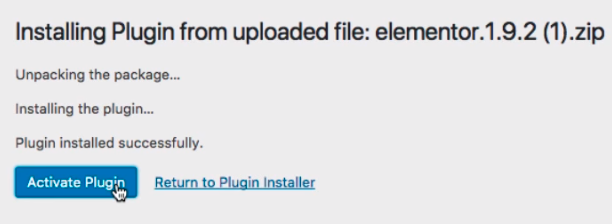
After choosing the file, click ![]()
- Download Elementor from elementor.com and click

- Open WordPress dashboard and click
 >
> 
- Click
 then
then - Click
 after choosing the file
 - Then, click
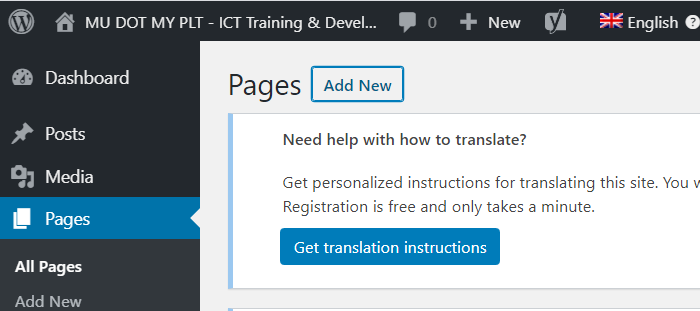
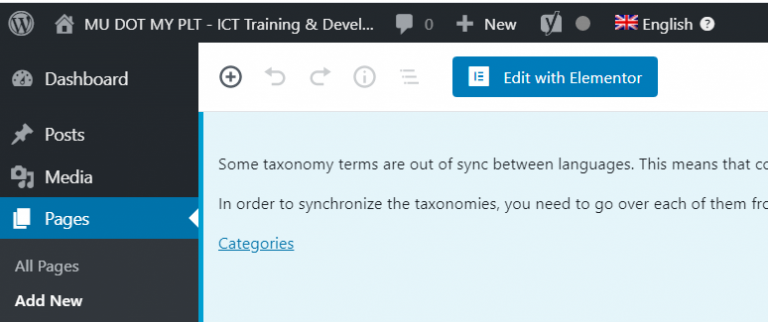
Open your WordPress administrative dashboard and go to ![]() >
> ![]()
Click the big blue ![]() button then you will be redirected to the Elementor customization panel.
button then you will be redirected to the Elementor customization panel.
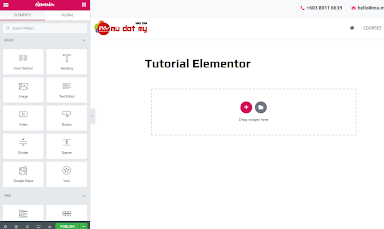
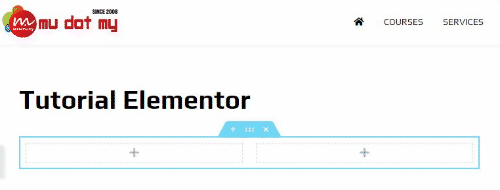
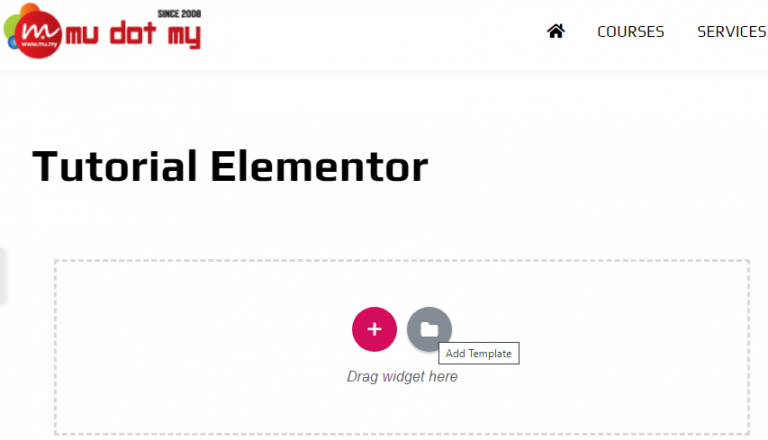
Click the ![]() icon to create a Section, or click the
icon to create a Section, or click the ![]() icon to add template
icon to add template

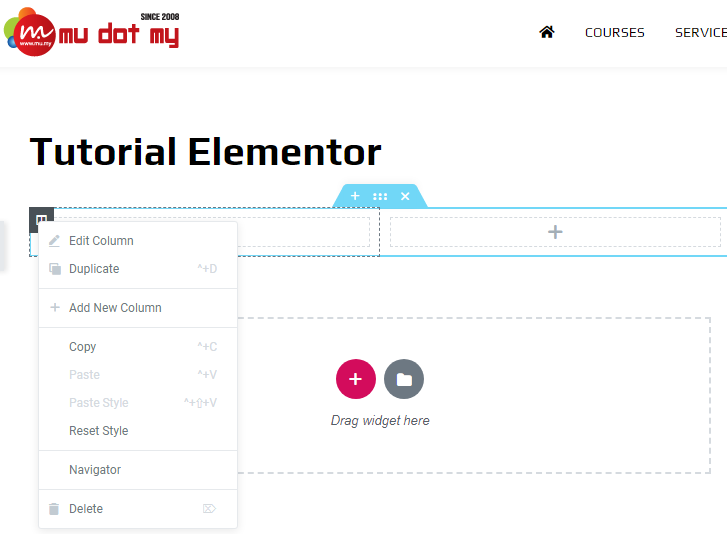
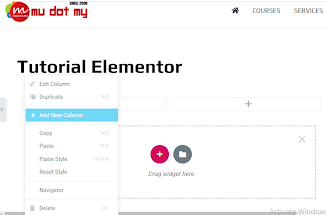
To add more Columns Right Click > ![]()
- Go to the dashboard and click on
 then
then 
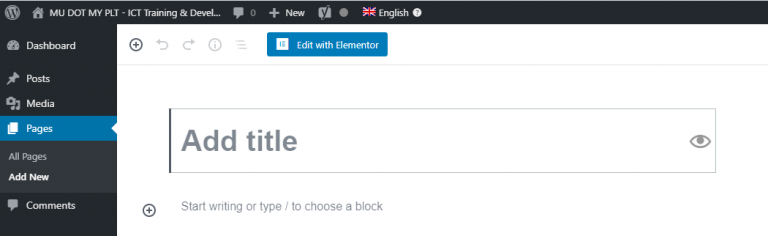
- Add title and click
- Click the
 icon to create a Section, or click
  the icon to add template
 - Click then choose the structure
- Right click then choose
 to add column
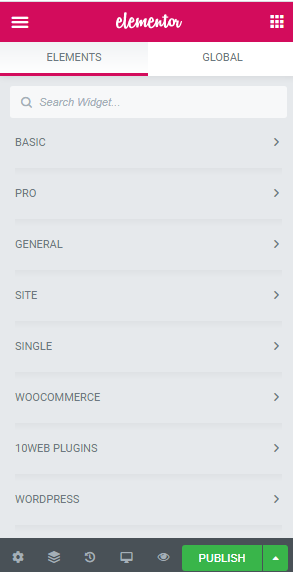
Click the ![]() icon to add template.
icon to add template.
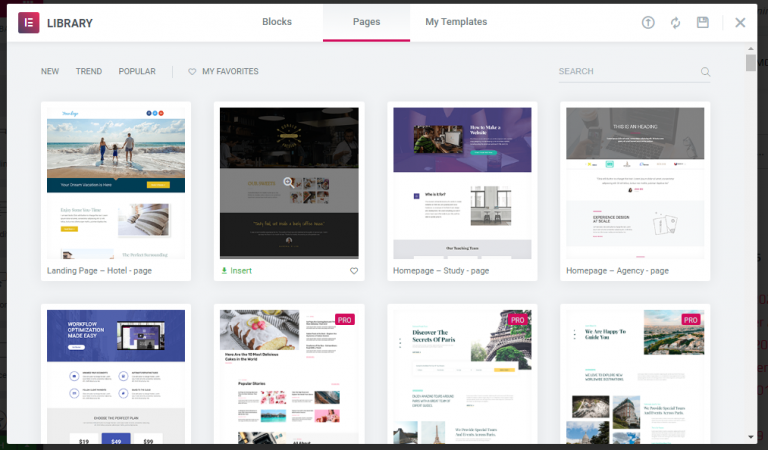
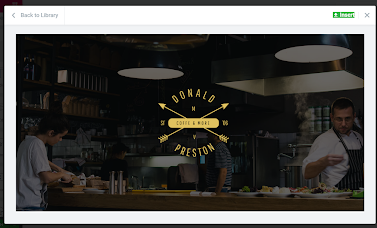
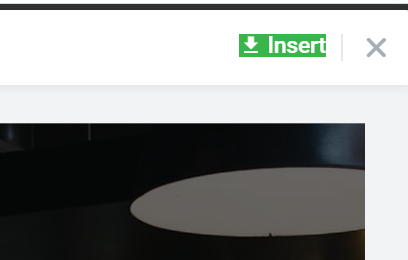
Click ![]() to use the required template
to use the required template
- Click on
 icon to add template
- Choose any templates
- Click
 to use the template
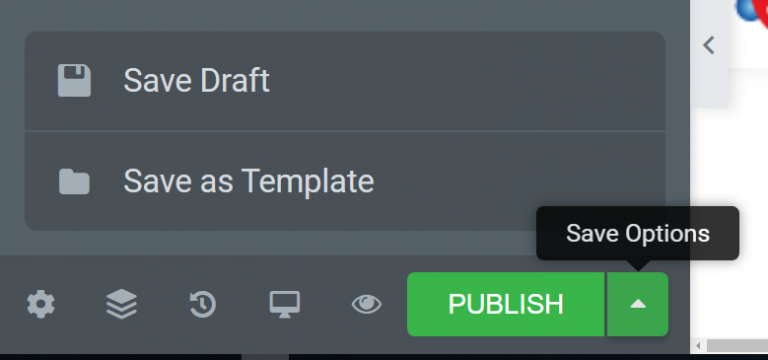
You can always save updates every time you made changes. Just click on the small arrow and then click ![]()
After you’re done designing your page, Preview & Publish it.
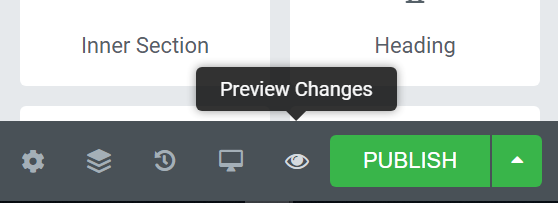
Click the ![]() icon to preview your page.
icon to preview your page.
If you are satisfied with the result, go ahead and click the ![]() button.
button.
- Click
 to save you work.
 - Click the
 icon to preview your page.
 - Click
 to publish you work.